What a wild week of weather! Just when we were thinking we would escape a cold and snowy winter we get the polar vortex slipping our way. Depending on where you live the snow and ice kept travel near impossible. Out here in East County we had temps in the low 20s and blowing snow causing drifts up to 3 feet high. Today the freezing rain has coated everything with almost an inch of ice. I love the snow but now I am looking forward to far less weather drama. Good old gentle Oregon rain with temps in the 40s and 50s sounds good to me now.
Thanks to everyone who participated in the Sunday special Resource/Information net. We had 78 checkins and several emails from members who were out of town and unable to check in. It is great to practice how a net like this may evolve in the event of a major disaster.
A special thanks to Dylan N7LYD who has taken the job as MCARES Training Manager as of January. Dylan has been leading the new member trainings and has been doing a great job.
We are sorry to report that Echo Team member Jim Masog N7JFC is now a silent key. Jim had been fighting a long battle with cancer for the last several years. Jim lived less than a block from Gresham Fire Station 74 and it was his mission to take care of the ham radio equipment there. He knew all the fire fighters and was there for ARES exercises. He volunteered with the US Forest Service and he and his wife, Louise, spent many, many hours patrolling the forest service back roads. You might remember him as the guy with the old military jeep who always stopped by at our annual camp outs. We will miss him for sure!
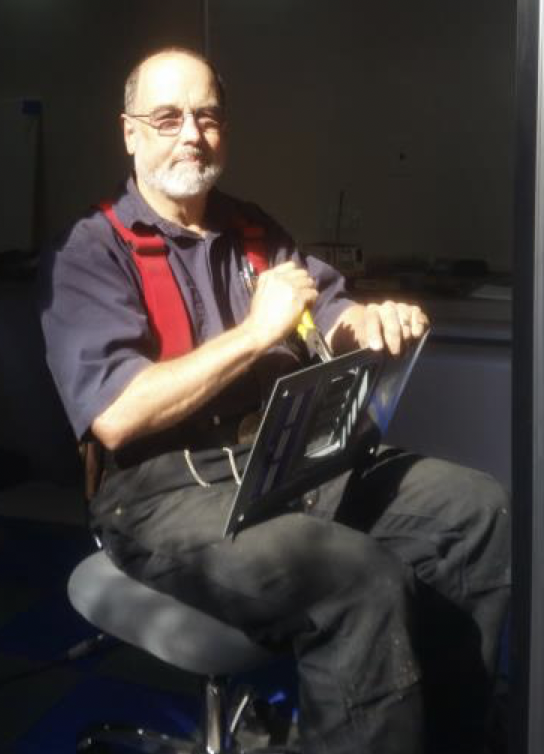
It’s with both joy and sadness that we remember John Bartlett, KF7ZWX, who passed on November 25th. From the first time he pulled up to a meeting with his antenna porcupine search and rescue truck, John made a huge impact on Multnomah County ARES over the 7 plus years of his membership. An electrician by trade, John was a man of many, many talents. He was an electronics engineer, a machinist, a programmer, and an educator. A carpenter, patent holder, father, a counselor, and a friend.
Warm and generous of spirit, John was one of our best Elmers and was able to illuminate the complexities of radio and electronics with a quiet passion that was welcoming and infectious. His soldering classes were stuff of legend – who has eight soldering irons and all the accessories handy to set up at a moment’s notice? Two hours with John and you were soldering like you’d been at it for a decade. He could de-solder a feedline connector in seconds; it was like watching a magic trick.
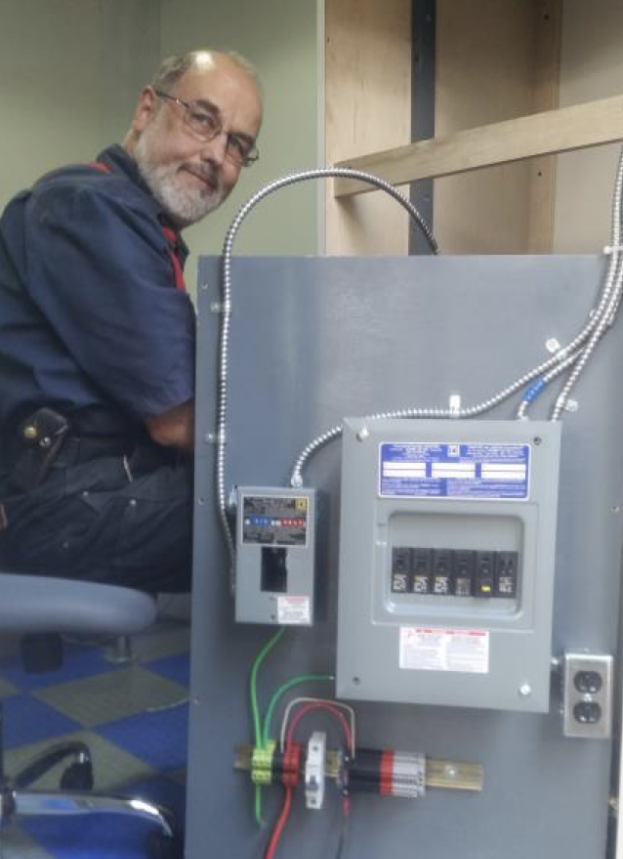
In one of his most incredible efforts for ARES, John put in hundreds of hours over months designing and installing – and personally donating much of – the entire electrical system for the ARES Communications Trailer. It’s an amazing, professional quality system that is simultaneously complex and simple, a truly inspired design that has been replicated in similar units up and down the west coast. It took an incredible amount of time and effort – John was one of the most generous men. Ever.
On the Mike Team, he was an ocean of Zen in the middle of the chaos of a drill. The man was unflappable and always smiling, first to volunteer and last to leave, every time.
We will miss him, and his dog, Puggles, deeply, and send our condolences and warmest thoughts to Katherine KQ7TBR and his family.
We logged 149 volunteer hours in December, with an impressive total of 2,949 hours for 2020.
A big welcome to our new members, Isabelle KD2NMP (Charlie Team), Harriet KJ7RZV (Delta Team), and Michael KI7QIB (Bravo Team). We now have 96 active members.
Welcome to our newest member, Franklin K7FSW, who will be joining the Charlie team. We now have 113 active members, and we logged 199 volunteer hours in October!
The November 19 meeting will be online using WebEx. Note that this meeting is one week earlier than usual because of the Thanksgiving holiday. Adam KF7LJH will go over basic use of MMSSTV (sending pictures via ham radio) in preparation of the December 3 Drill from home.
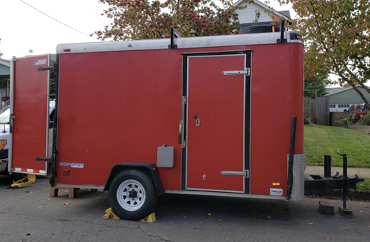
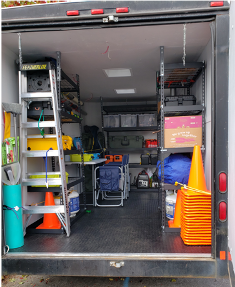
The newest MCARES mobile trailer, dubbed “The Beast”, has been outfitted with most of its gear. Nate still has work to do on the electrical and solar panels but otherwise it is now usable. The Beast has space for two operators and equipment to work all bands and all modes. It also has several go kits that can be used for satellite stations, cross-band repeating, or digipeating as needed. The trailer is a great asset and really expands our field capabilities.
Our new mobile trailer, The Beast
The Beast is well equipped
There will not be a monthly meeting in December, however a MMSSTV drill is on tap for Thursday, December 3, so watch your email for details.
It has been an unprecedented year and we hope you can safely enjoy the upcoming holidays with optimism for the future. Thanks to all of our members for all their support, enthusiasm, and flexibility during this year.
A new revision of the Multnomah County ARES Standard Operating Procedure document has been posted on the Docs page. MCARES members should review the new SOP (rev. 05-NOV-2020) and print a copy to include in their go-kits.
The October 22nd meeting will on the air at MC1 (146.840). We will be practicing written voice traffic, so have your blank ICS213 and NTS radiogram forms close by to copy along.
Our sincere thanks again to our loyal and supportive members for a very successful “Donation Extravaganza”. All the prizes have been delivered to the winners and we raised about $1200. We are definitely planning a hotdog and burger get together as soon as this damnable COVID-19 gets out of here.
The next exercise is the Red, White, and Blue Mobile Chip Trip on Saturday, October 17, and the weather is looking good for that day. We look forward to seeing our masked members in person one more time this year. The ARES trailer will be at the Echo team location and Adam will give a tour of its newest upgrades. The prize for the most points has changed will be a $25 Visa gift card. Good luck to everyone!